 house")
Building a (little) house
14.2.2025Last autumn, I visited a model building fair with my godson. He is mostly interested in model trains, which suits me well, having been a model train aficionado as a kid and teenager. On the way home, he told me that he would love to get a 3D printed house for his own model railway as his birthday present. I thought that sounds cool, and so it began...
Dieser Artikel ist auch auf Deutsch verfügbar (ohne die technischen Notizen am Ende).
Can't be that difficult, right? Placing a programmable RGB LED pointing towards each of the sides of the house, I can light the windows. To make things interactive, I had the idea to make the large windows react to touch and play a little scene. I have been playing around with Arduino and ESP8266 microcontrollers quite a bit, and from a previous project already had parts of what I needed for that. Boy, that escalated quickly.
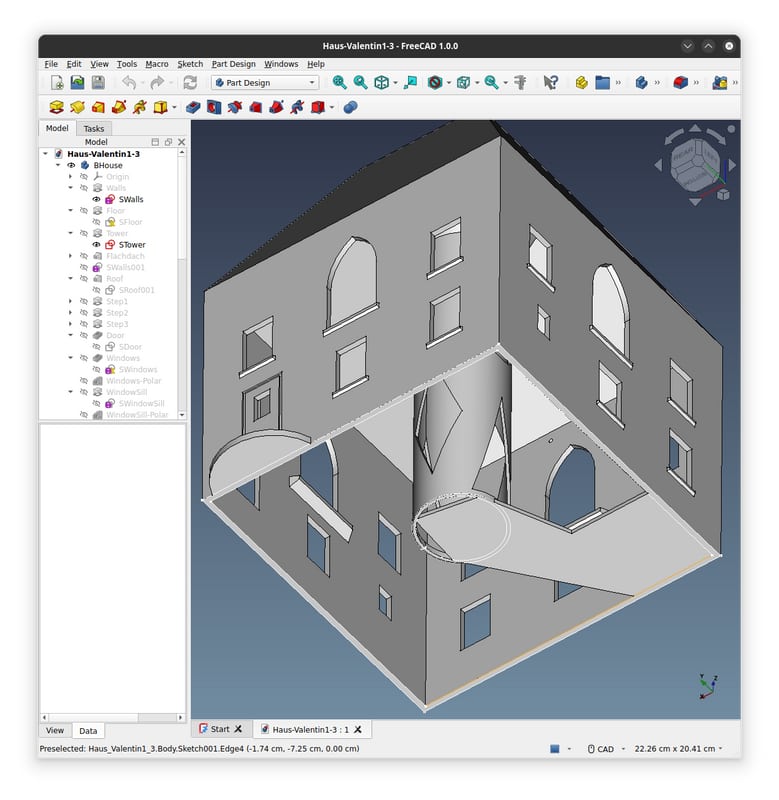
I searched online for suitable existing freely available models to 3D print the house. The only finds that I liked looked way to finely detailed to print on the 3D printer I have access to at the office. Plus, designing something myself is also more personal. I have learned a bit of FreeCAD, and so I started designing. In addition to the wall and roof, I added a central column to attach the LEDs and the speaker to, and an area to hold the ESP8266 microcontroller with a little hole to connect the USB power cable to the microcontroller. To detect pressing the large windows, I planned to have a frame behind those windows that allows the window pane to move backwards, with a switch to detect that movement. On the main house model, I added a sill on the inside to base that frame onto.
Once the 3D print was ready, I programmed the microcontroller to play an audio file and animate the LEDs to match. Depending on the switch pressed, it plays the corresponding program, ignoring further input. At the end of the program, it goes back to the regular state and waits for input. I arranged the audio from free sound snippets from pixabay.com.
To give an impression of the final product, I recorded the 4 windows with my phone. The tiny speaker indeed does not produce great sound, but the phone microphone makes it sound even worse than when you hear it in person.
Technical Notes
In the remainder of this post, I want to take some notes on what worked out well and what I could have done better.
3D Design
- + I did not try to make the house to scale (1:87) but bigger, giving me more space to work with.
- + FreeCAD is quite nice to use, and made a big leap forward with version 1.0.
- + I made the roof rather steep, which worked out to 3D print without supports. Together with the central column, even the flat part of the roof was printable without supports.
- + I built with radial symmetry. This simplified the design a lot. I added the hole to cut out the window and the window sill on one side and then mirrored them to the other 3 sides around the central axis.
- + The window sills look nice, though I should have made them a bit more prominent.
- + Adding grooves for the door frame gave me a structure to paint on.
- - The design would have profited from some more details.
- - I should have made the roof come out over the walls, adding supports growing out of the wall. This would also have helped to provide better defined features for painting on.
- - I should have done a test print of the area for the ESP8266 microcontroller. I had the measures off by one millimeter, so the microcontroller is not held in place by the model. (It only stays in place because of the USB cable holding it to the through-hole.)
And thanks to a friend who printed the model on his Bamboo Labs printer! Seeing how well those prints come out, I was really tempted to buy one myself but luckily I could resist (given the recent controversy about their firmware politics).
Windows
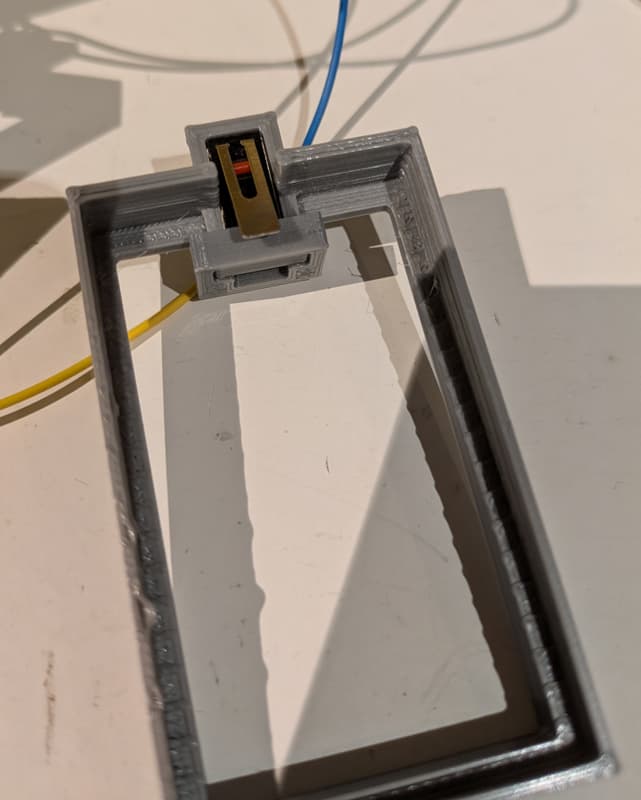
- + The mechanism with the switch worked out really nicely. The switch pushes the window straight, but a soft press on the window triggers the switch.
- + The little ring to hold the switch worked out perfectly, it holds well without needing glue.
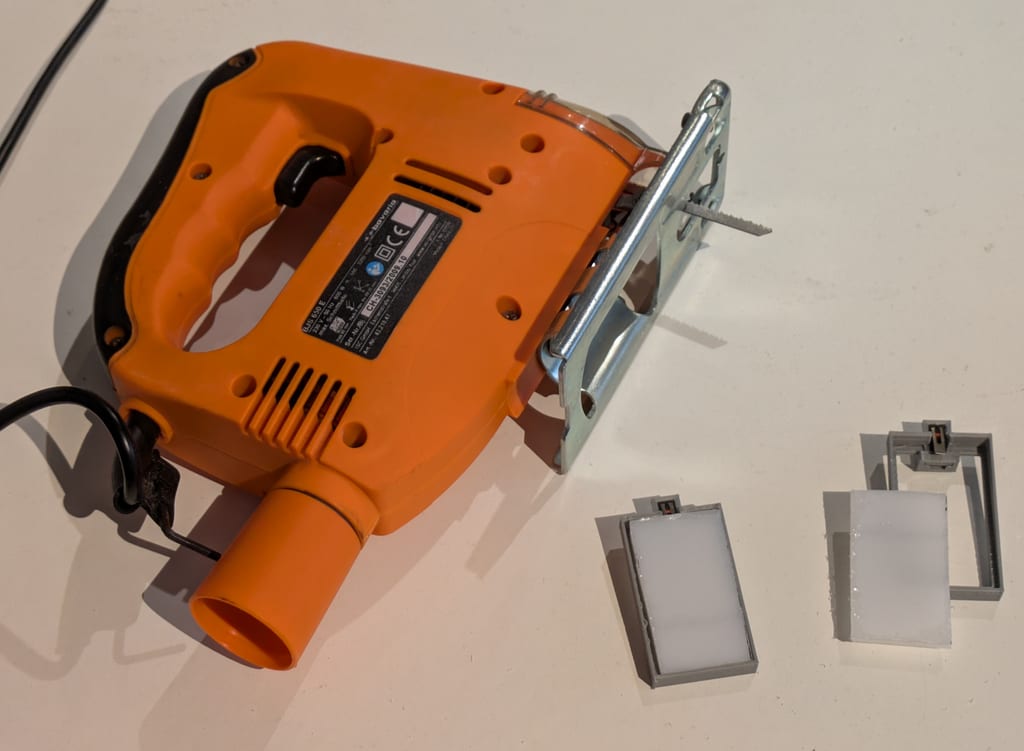
- + Cutting the acrylic glass with a handheld electric saw worked surprisingly well. I also luckily did not damage any of my fingers. It helps a lot that the window edges are hidden behind the building walls, so they do not need to be precise or clean at all.
- - I had the idea to have holes in the model and pins on the frame to attach the frame to the building. That would have been useful, but I made them way too thin. 1 mm diameter was too fragile, I should have created them with 5mm and the holes slightly wider.
Painting
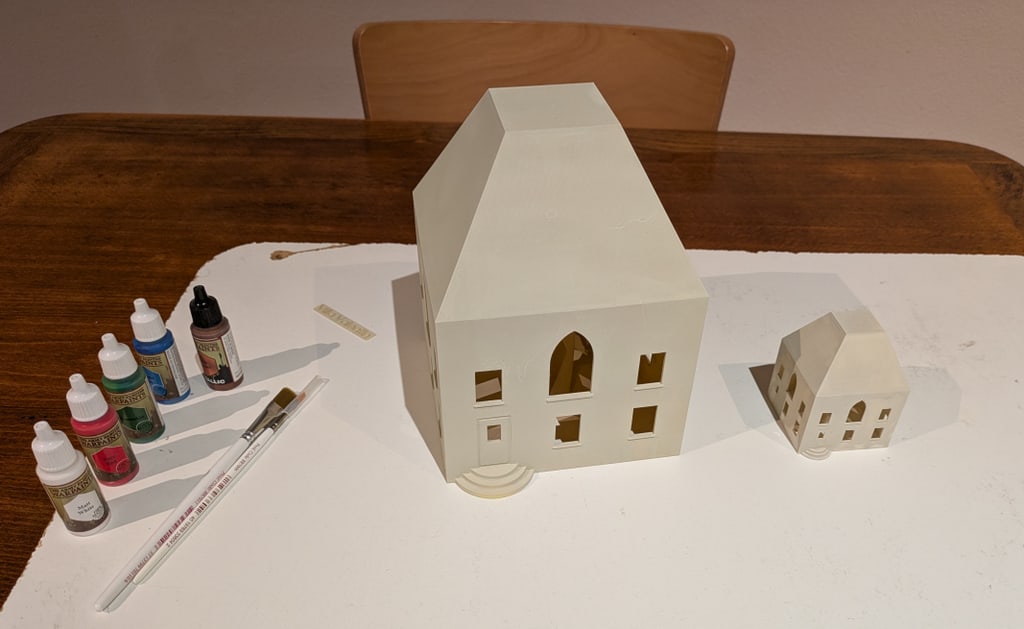
- + I bought paints produced to paint tabletop figures. They worked out nicely on the PLA.
- + Using a spray of the same brand for a base color was efficient.
- + Adding colors made the house look more alive.
- - I am not experienced with painting, and was too impatient. Should have been very careful to be more precise.
- - Trying to paint anything without physical structure in the printed model is difficult. I should have added details for everything I want to paint.
Microcontroller
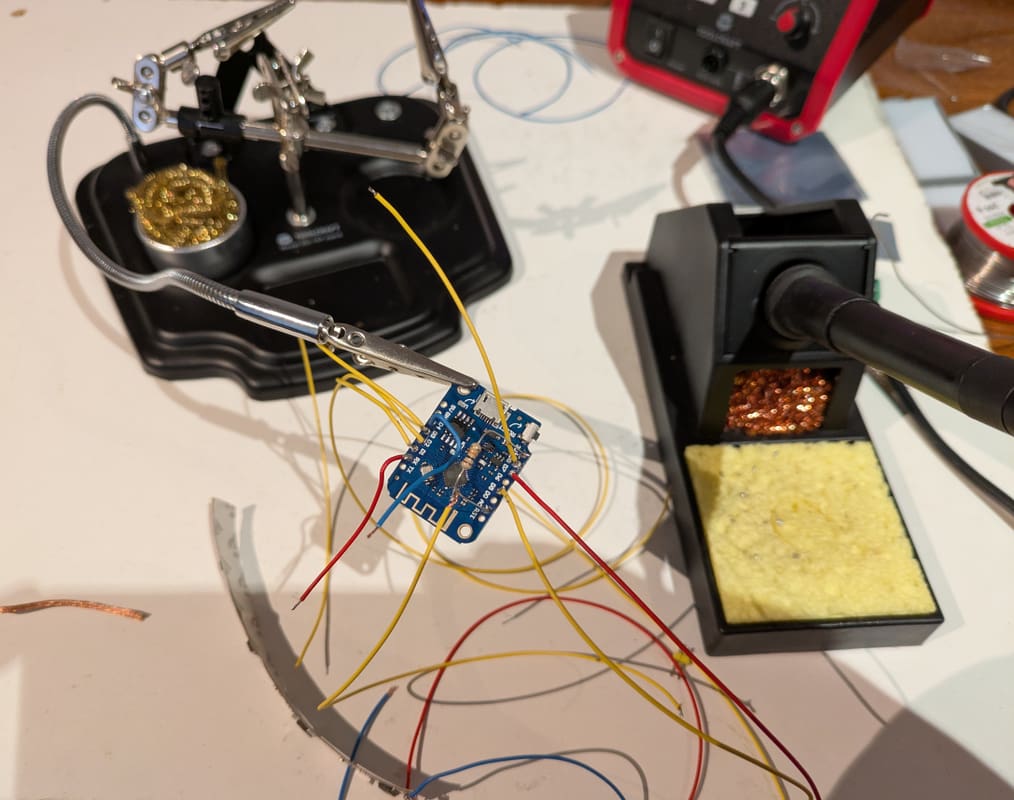
- + The ESP8266 is tiny and really powerful. It helps that I gathered some experience from having worked with it on several projects now.
- + I never had any problems driving the WS2801 (nor WS2811) LEDs directly with the ESP, even though the microcontroller runs at 3.3 volt, while the LEDs are on 5 volt.
- + I bought an MAX98357 I2S amplifier that I control through the [ESP8266Audio](https://github.com/earlephilhower/ESP8266Audio/) library. I struggled with random volume changes until I connected the volume control to a pin of the ESP - 3.3V gave the right volume for my taste, but testing the 5V or ground also worked.
- +/- I was lucky with the available pins and just could make do ([see separate post](/mann/blog/2025-02-14/maxing-out-esp8266-pins)). I should have checked this in advance to avoid surprises or have time to procure a multiplexer.
Assembly
- + Uhu glue worked well to glue the window frames to the building. The large sill worked well to position the window frame.
- - As mentioned above, the ESP is not really held in place because it does not fit into its bed.
- - I should have constructed some sort of removable tray for the ESP. Then i could have connected the various wires with plugs rather than soldering them directly to the ESP.
- - The cabling ended up being a mess. Cables need to run from the ESP to each switch, as well as to the speaker that I attached to the central column. I should have planned for it and added some features on the inside of the house to attach cables to.
Software
I used Audacity for sound design. I found very nice sound snippets with a CC0 license on pixabay.com.